
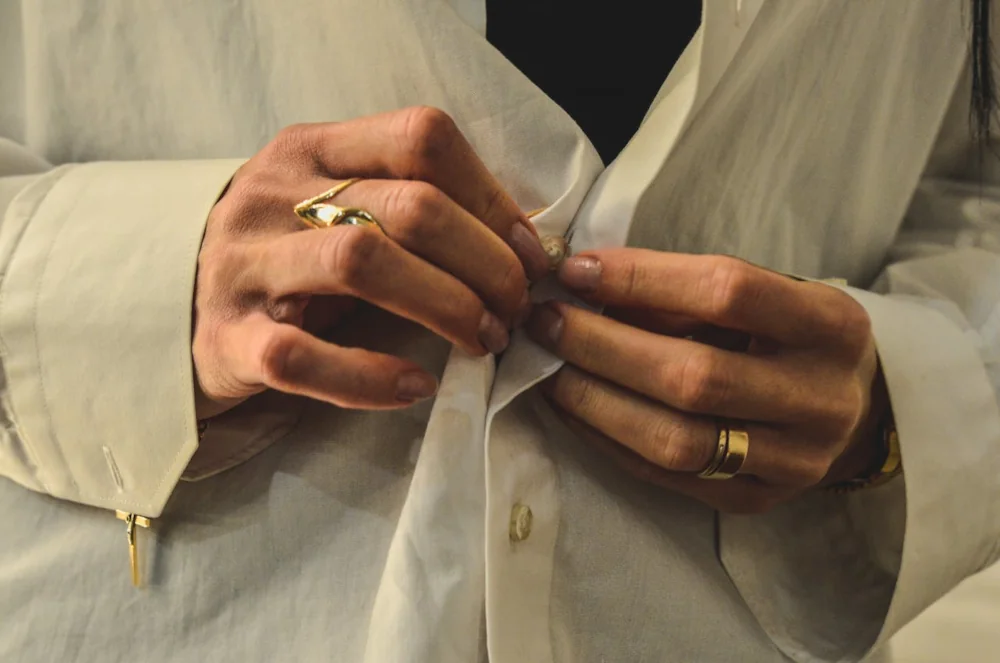
Upcycled shirts are the cornerstone of a sustainable, high-style wardrobe, offering a creative solution to the overflow of fast fashion in our thrift stores. Many of these oversized cotton and linen finds feature premium fabrics and beautiful vintage construction, but their “boxy” or dated silhouettes often hide their true potential. By mastering the art of the “re-fit,” you can transform these discarded pieces into perfectly tailored upcycled shirts that look and feel like designer garments.
Choosing to create upcycled shirts is a radical act of environmental responsibility. Instead of contributing to textile waste, you are engaging in reclaimed design to extend the lifecycle of quality textiles. In this guide, we’ll walk through the technical process of deconstructing and resizing a garment, turning a shapeless find into a modern staple for your sustainable fashion collection.
Equipping Your Journey: Essential Supplies for Upcycled Shirts
Before you begin your transformation, gather these tools to ensure a professional-grade finish for your sustainable sewing projects.
Click on the item and buy the supplies right away!!
- Button-up shirt: One pair of thrifted or old oversized button-up shirt.
- Fabric Scissors: Sharp scissors for cutting denim.
- Ruler set or Measuring Tape: For accurate measurements.
- Fabric Chalk or Pen: For marking your cutting lines.
- Sewing Machine: A machine makes it quicker, but hand-stitching is entirely possible as well.
- Sewing thread: A high-quality all-purpose polyester sewing thread (match color to your fabrics).
- Iron: For crisp seams.
- Pins or Fabric Clips: To hold pieces together.
Design Sustainably. Sew Professionally.
Project Guide: Step-by-Step Instructions for project of upcycled shirts
Step 1: Prep and Press
Wash and dry your thrifted shirt to handle any potential shrinkage before you start tailoring. Give it a heavy steam press to ensure the fabric is perfectly flat for accurate measuring.
Step 2: Measure and Cut the Length
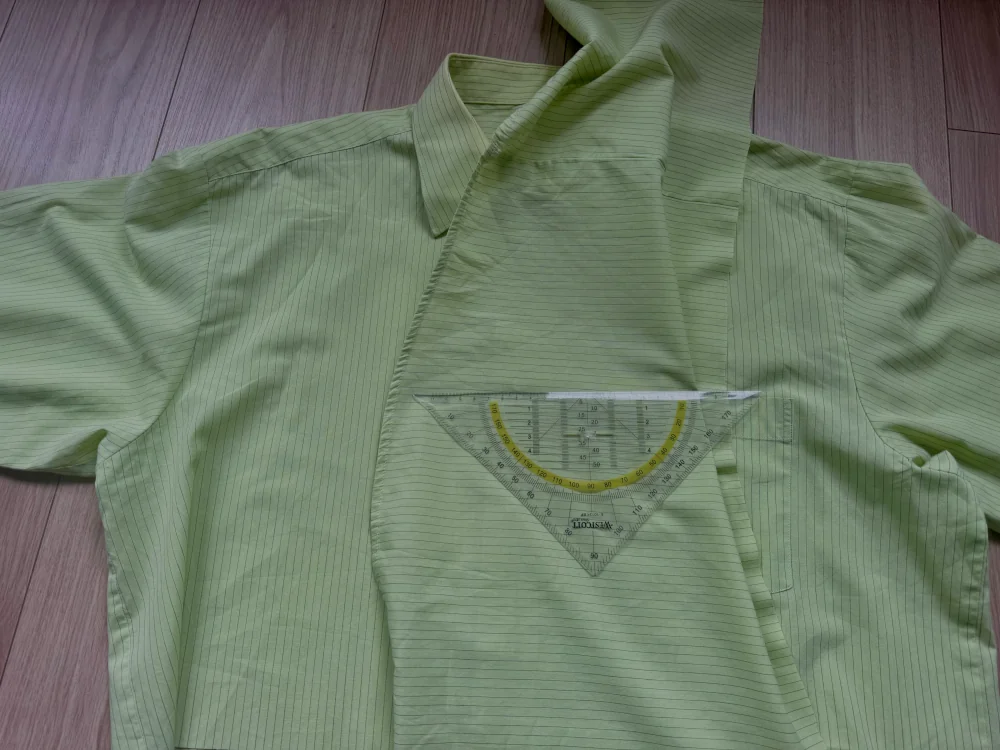
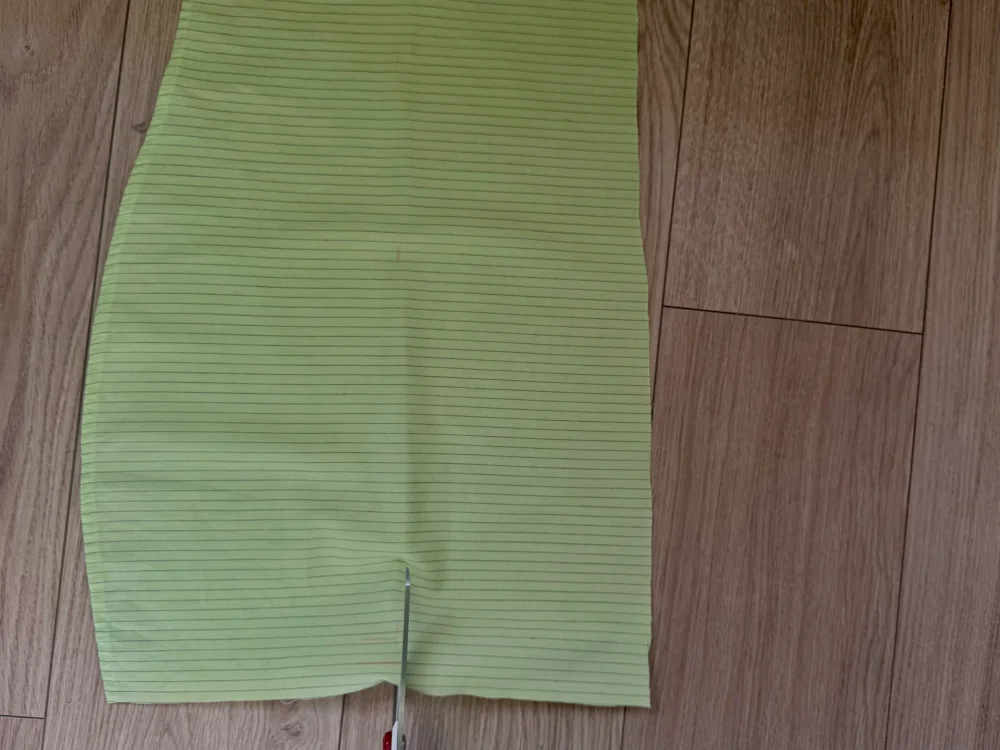
Put the shirt on and mark exactly where you want the new cropped length to sit. Add 1cm for a hem, then use fabric scissors to cut straight across, removing the excess bulk from the bottom of the big shirt.
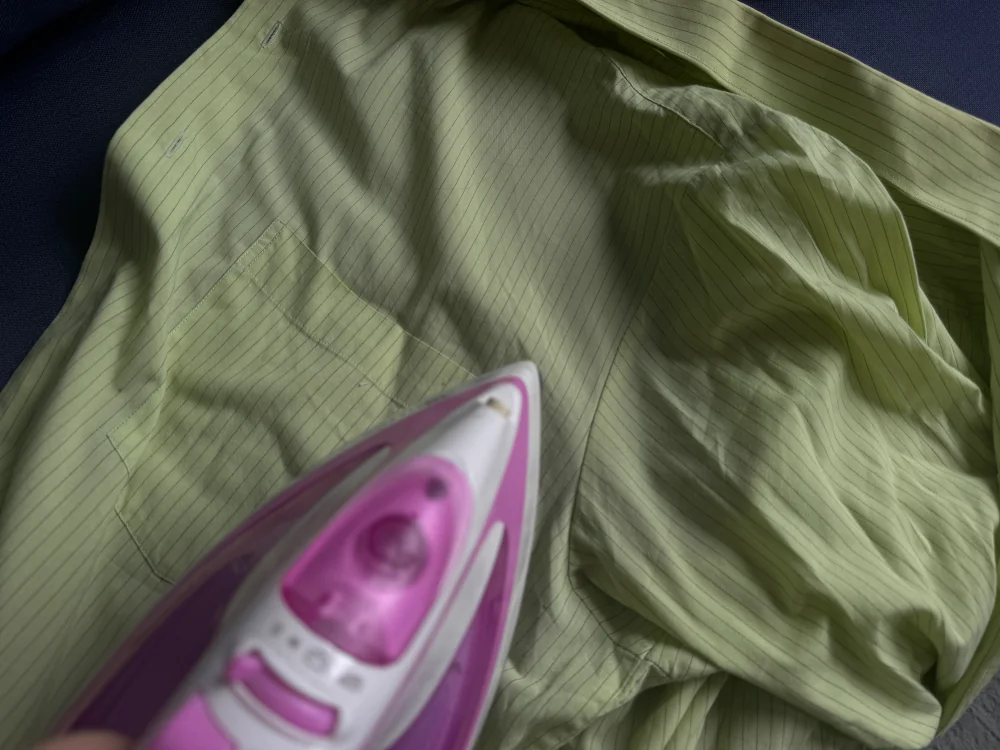
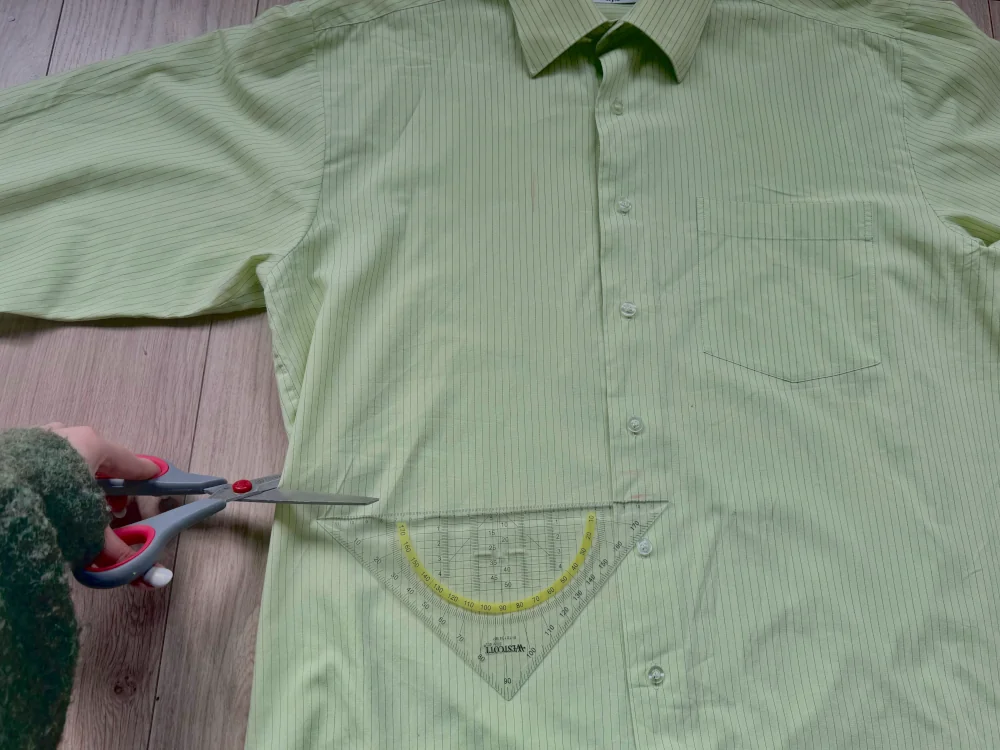
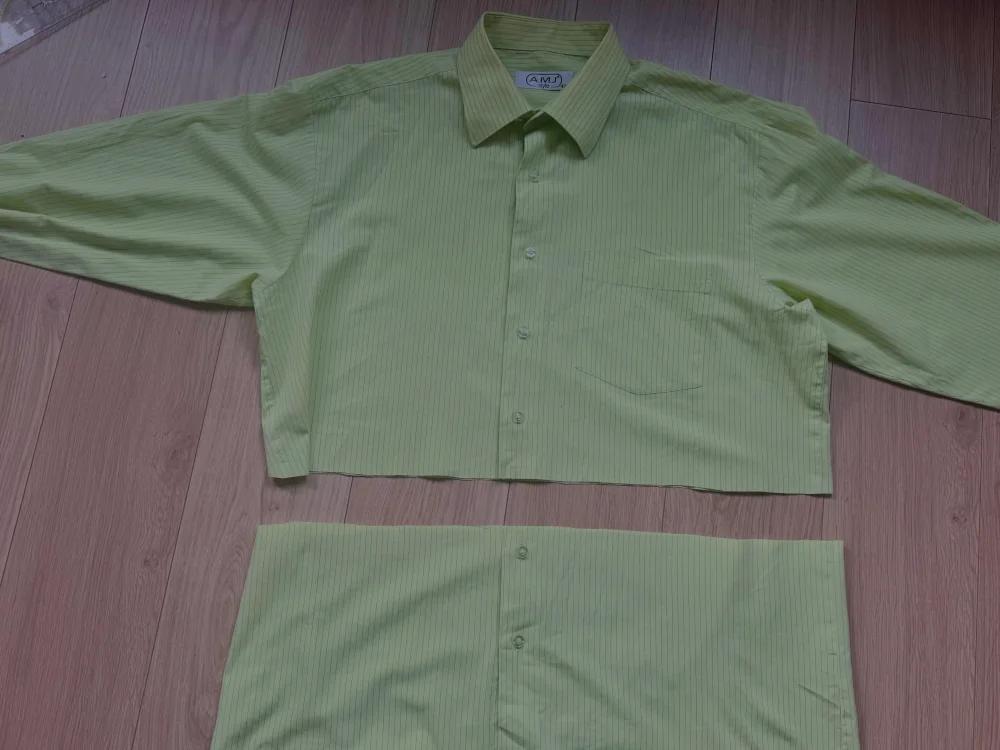
Step 3: Hem the bottom and prepare the top detail
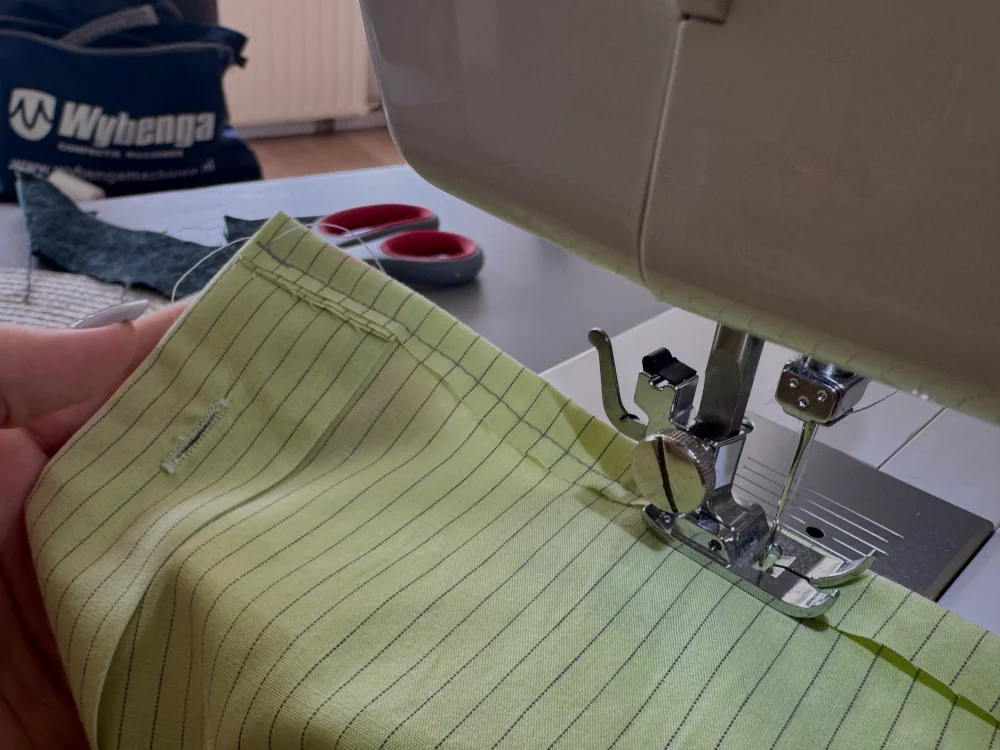
Fold the new bottom edge and sew a straight stitch to create a clean, professional hem.
Step 4: Measure detail and attach it
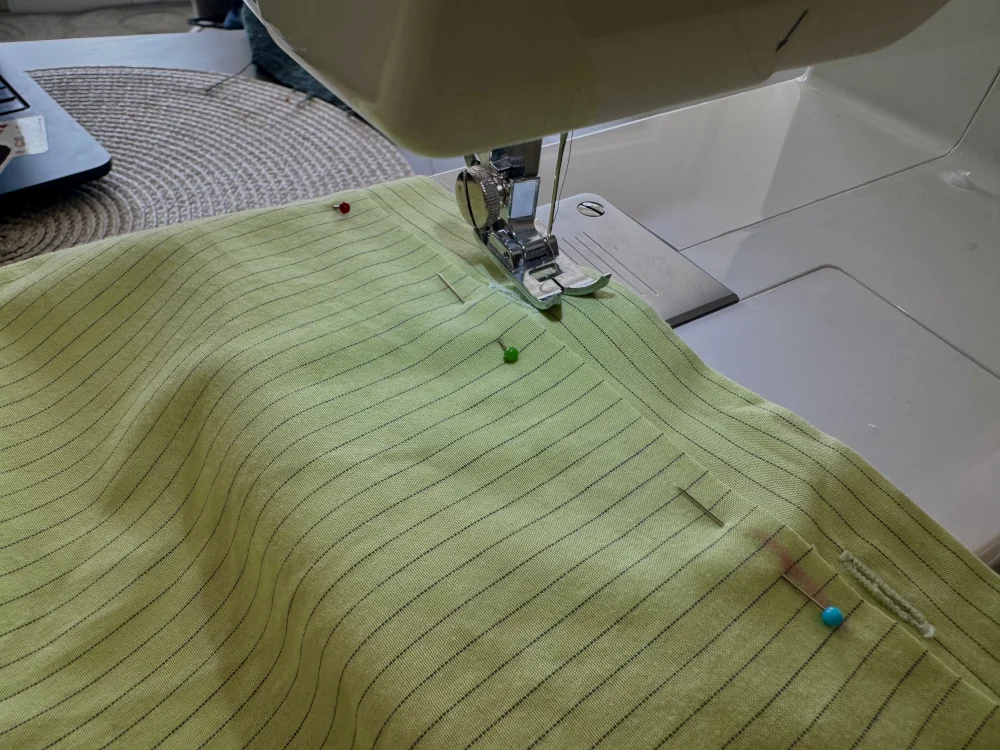
Next, measure and cut a separate strip of “extra detail” fabric for the top edge, hem that piece as well to prevent fraying.Align your hemmed detail strip to the top of the shirt and stitch it into place.

Step 5: Create tie-holes
Once attached, carefully measure (on you) and cut small, reinforced holes (buttonholes) along the top edge where your ties will eventually go.
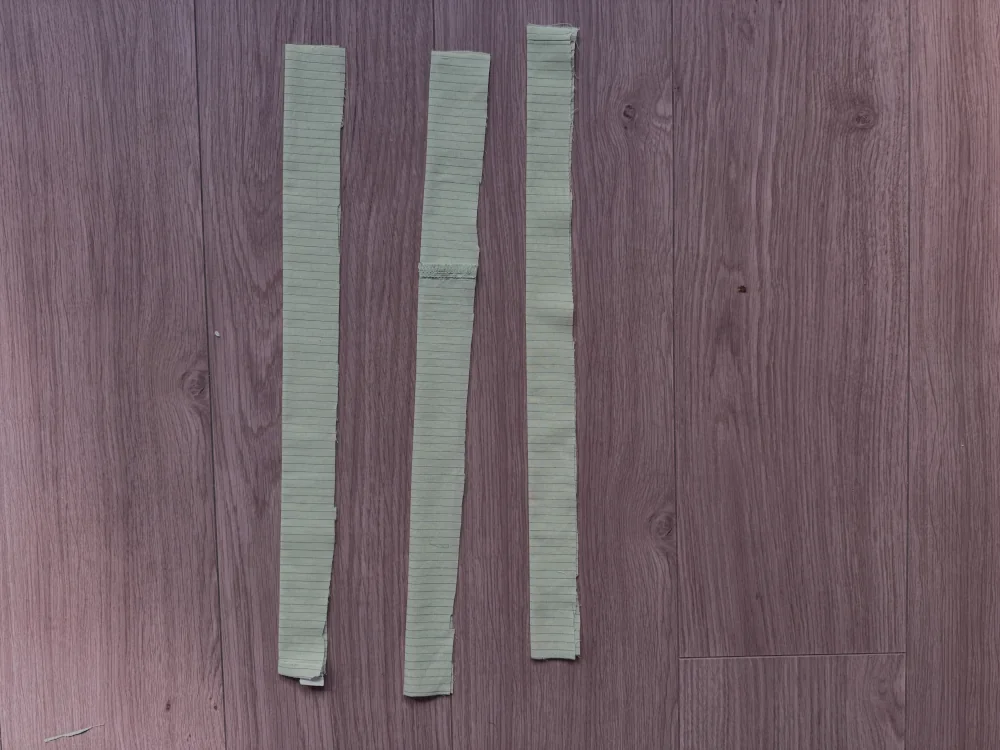
Step 5: Create and attach fabric strips
Cut and sew long, thin strips of fabric from your leftover scraps to act as the ties for the top. Attach these strips securely to the shirt or thread them through your prepared holes to finish the transformation.
Step 6: Professional Finishing
Finish, if needed, any remaining raw interior edges with a zigzag stitch to ensure your reclaimed design is durable. Give the entire top a final press to set the seams and make your upcycled shirt look high-quality and store-ready.
The Final Reveal: Your New Custom Staple
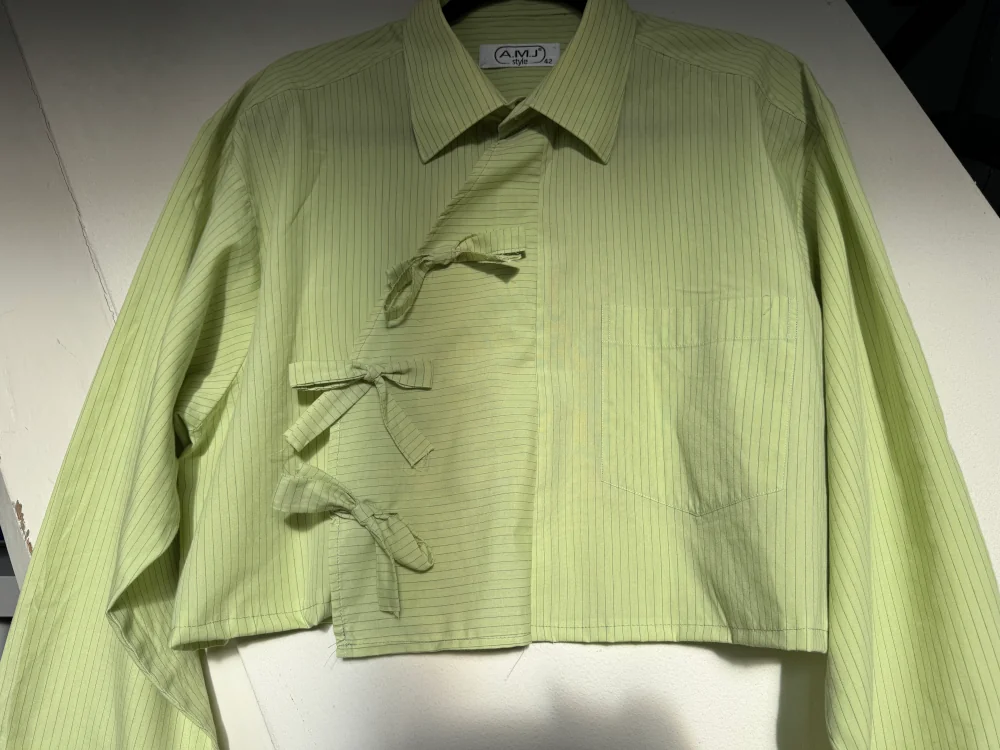
By following these steps, you’ve done more than just sew a new top, you’ve successfully diverted textile waste from a landfill and practiced the art of upcycling and sewing. This transformation proves that with a bit of patience and the right tools, any oversized “thrift find” can be reimagined into modern upcycled shirts that fit your personal style perfectly.
The beauty of this project lies in the custom details, the unique tie-front and the cropped silhouette turn a basic button-down into a statement piece that is uniquely yours. Transforming old garments into upcycled shirts is the best way to build a wardrobe that is both high-fashion and low-impact. Furthermore, these projects help you rapidly improve your sewing skills and gain confidence, even if you are a complete beginner.

Frequently Asked Questions:
Do I need an expensive sewing machine to make upcycled shirts?
Not at all! While a machine makes the process faster, most of these steps can be done with a basic, affordable model or even by hand-stitching if you have the patience. The goal of Rewear Projects is to make sewing accessible, so you don’t need professional-grade equipment to get a boutique-style result.
What if I’m a total beginner and I’ve never used a sewing machine before?
This project is designed specifically for you. By using an existing shirt, you avoid the most difficult part of sewing – creating a garment from scratch. These upcycled shirts projects are the perfect way to practice straight stitches and basic hemming. Also, read my “Beginner Sewing Guide” before starting to avoid most common mistakes.
How do I make sure my tie-holes don’t rip or fray?
To ensure your upcycled shirts are durable, you can use a “zigzag” stitch around the edges of the holes to reinforce them.
Leave a Reply