Author: Emilija Kiliute

  • Reimagining the Button-Down: The Ultimate Guide to Upcycled Shirts

    Reimagining the Button-Down: The Ultimate Guide to Upcycled Shirts

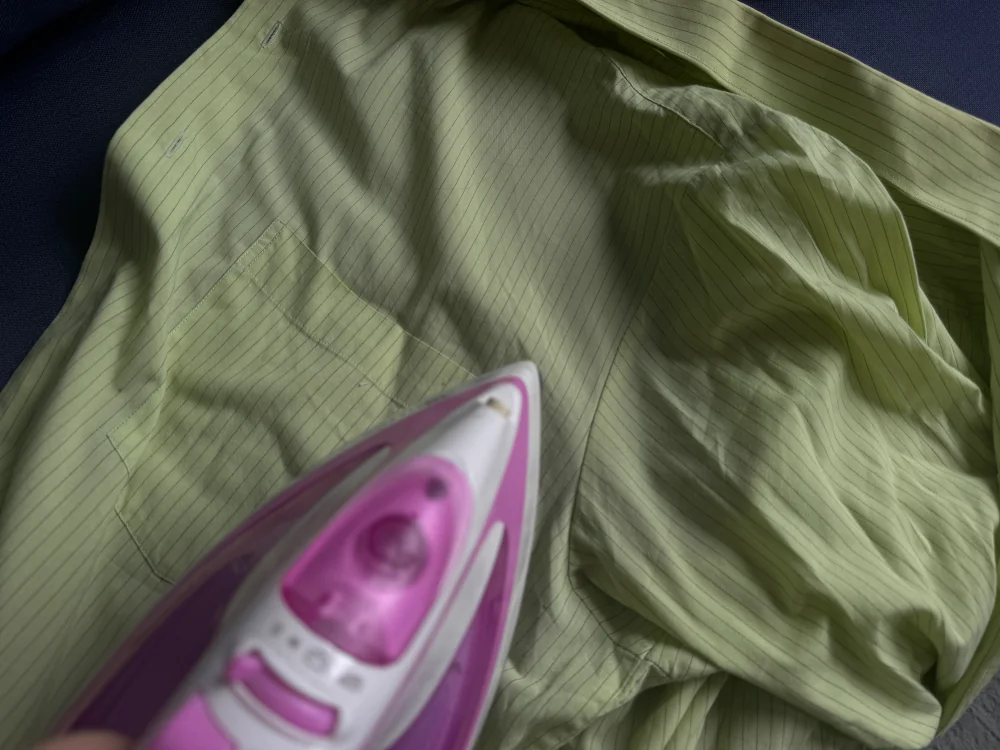
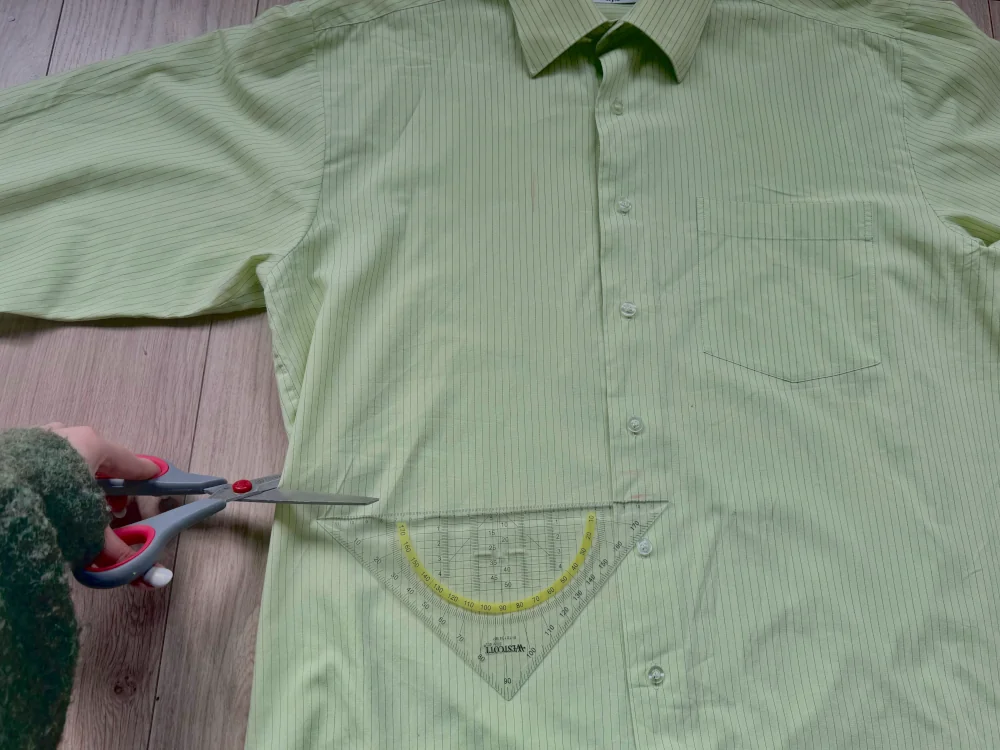
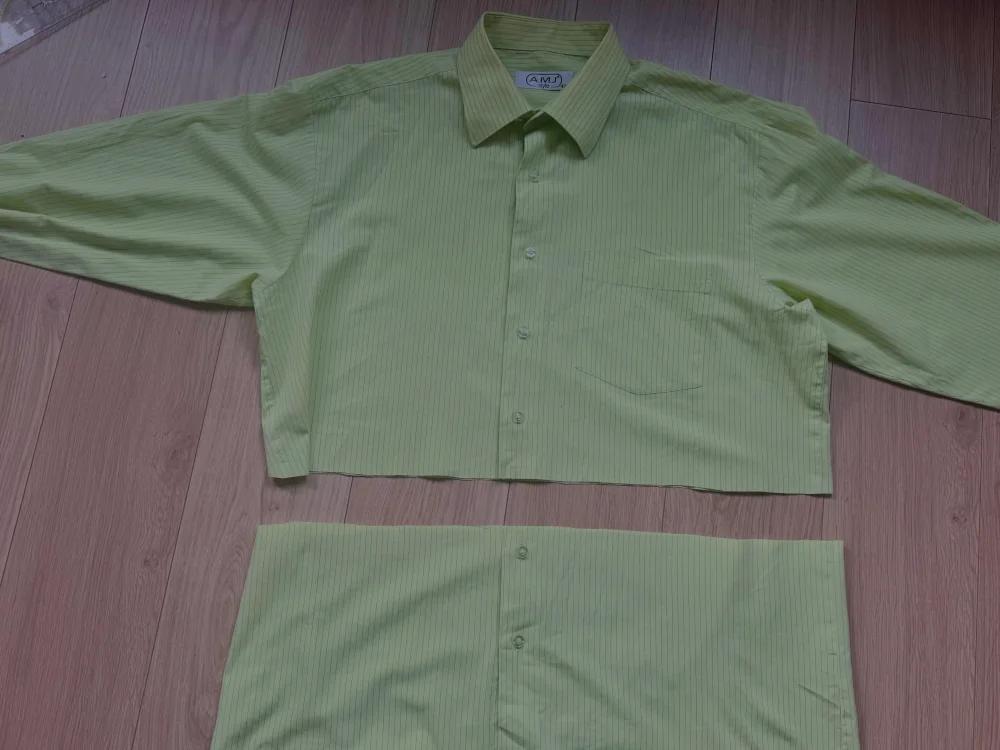
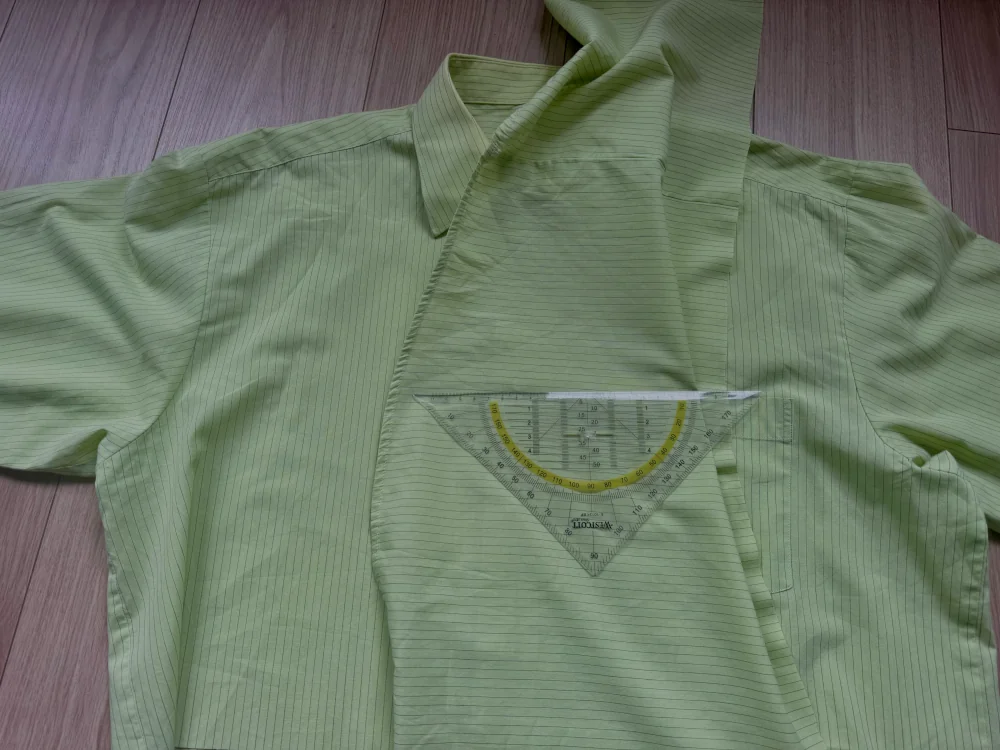
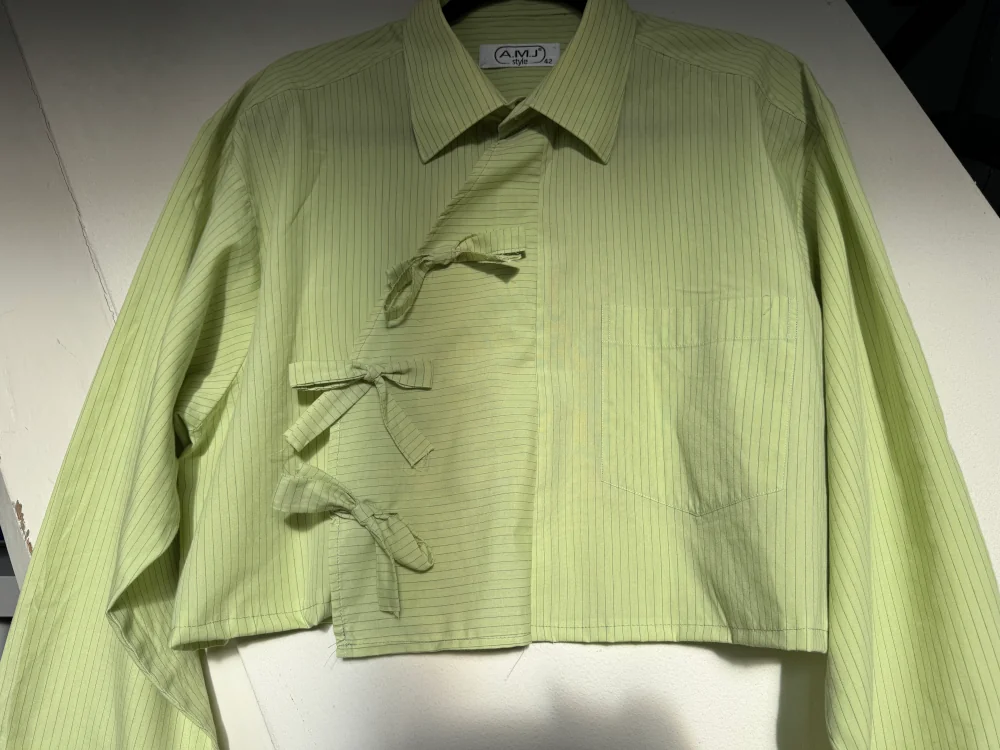
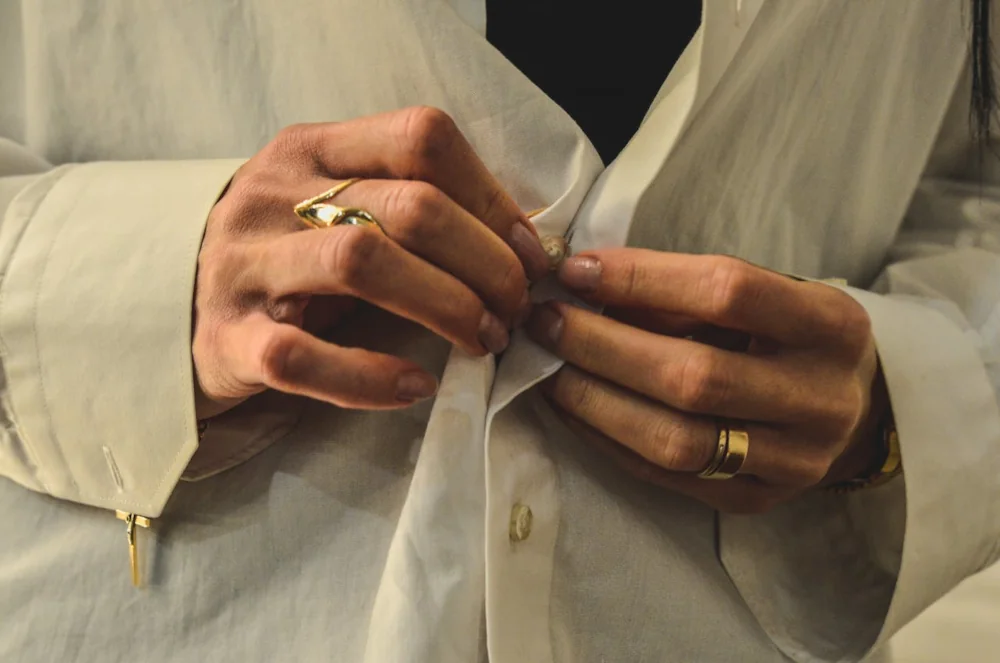
    Upcycled shirts are the cornerstone of a sustainable, high-style wardrobe, offering a creative solution to the overflow of fast fashion in our thrift stores. Many of these oversized cotton and linen finds feature premium fabrics and beautiful vintage construction, but their “boxy” or dated silhouettes often hide their true potential. By mastering the art of the “re-fit,” you can transform these discarded pieces into perfectly tailored upcycled shirts that look and feel like designer garments.

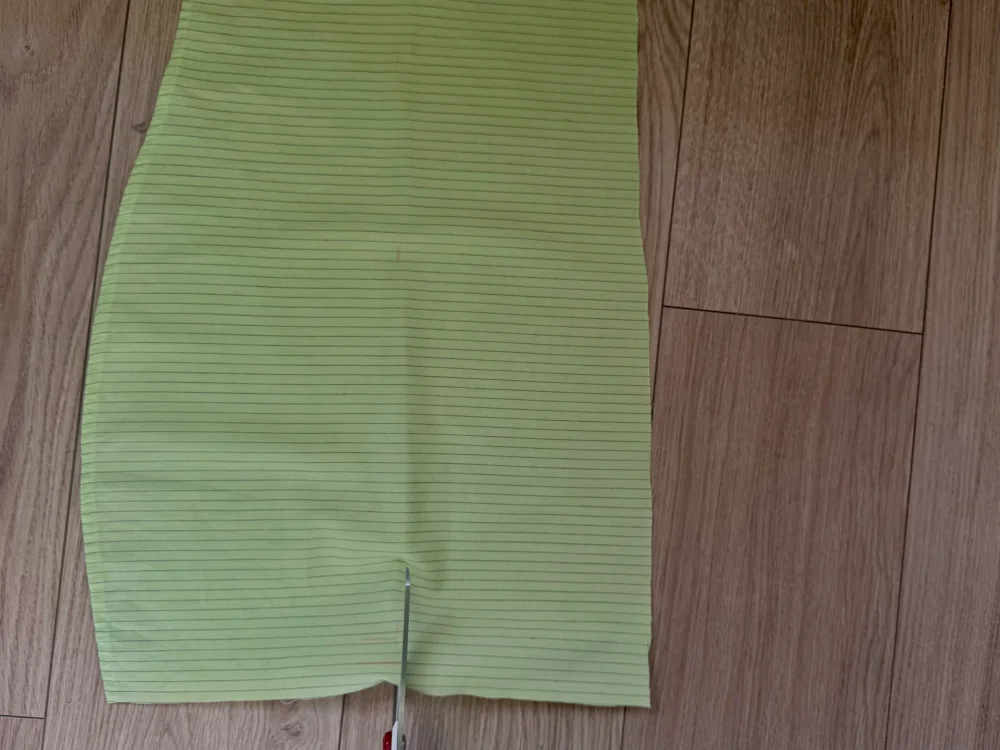
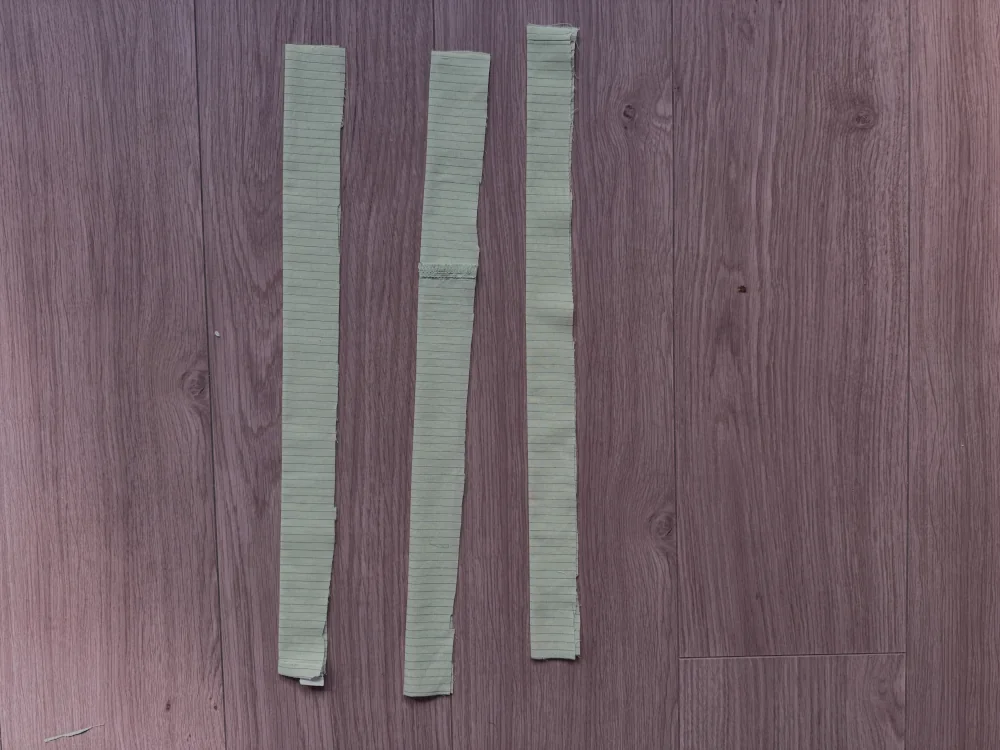
    Choosing to create upcycled shirts is a radical act of environmental responsibility. Instead of contributing to textile waste, you are engaging in reclaimed design to extend the lifecycle of quality textiles. In this guide, we’ll walk through the technical process of deconstructing and resizing a garment, turning a shapeless find into a modern staple for your sustainable fashion collection.

    Frequently Asked Questions:

    Do I need an expensive sewing machine to make upcycled shirts?

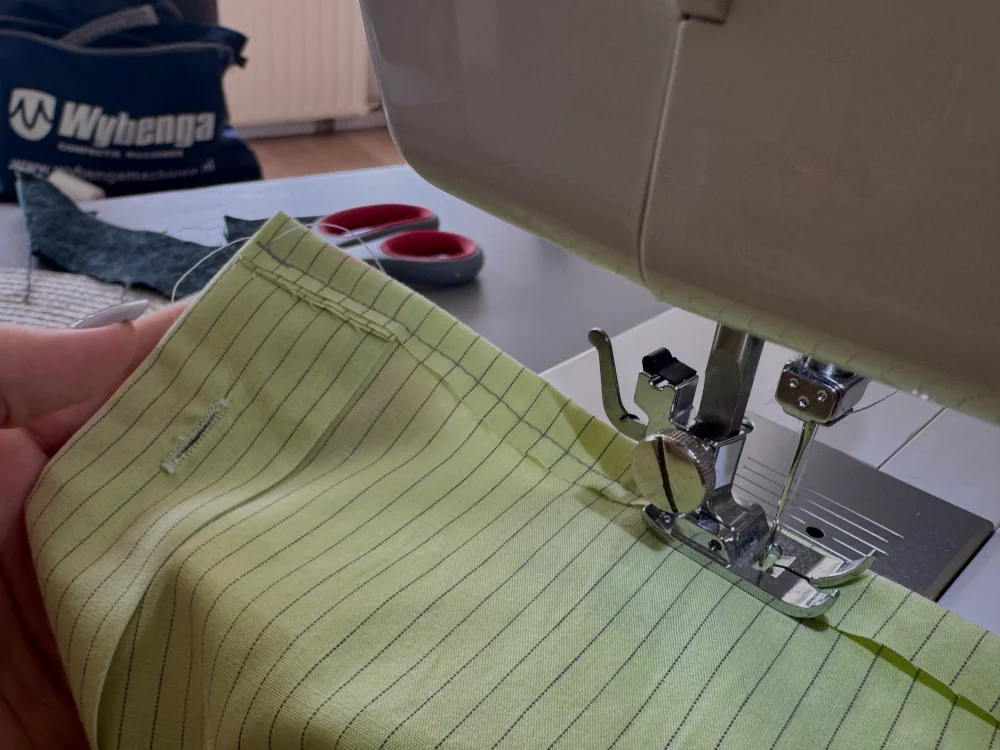
    Not at all! While a machine makes the process faster, most of these steps can be done with a basic, affordable model or even by hand-stitching if you have the patience. The goal of Rewear Projects is to make sewing accessible, so you don’t need professional-grade equipment to get a boutique-style result.

    What if I’m a total beginner and I’ve never used a sewing machine before?

    This project is designed specifically for you. By using an existing shirt, you avoid the most difficult part of sewing – creating a garment from scratch. These upcycled shirts projects are the perfect way to practice straight stitches and basic hemming. Also, read my “Beginner Sewing Guide” before starting to avoid most common mistakes.

    How do I make sure my tie-holes don’t rip or fray?

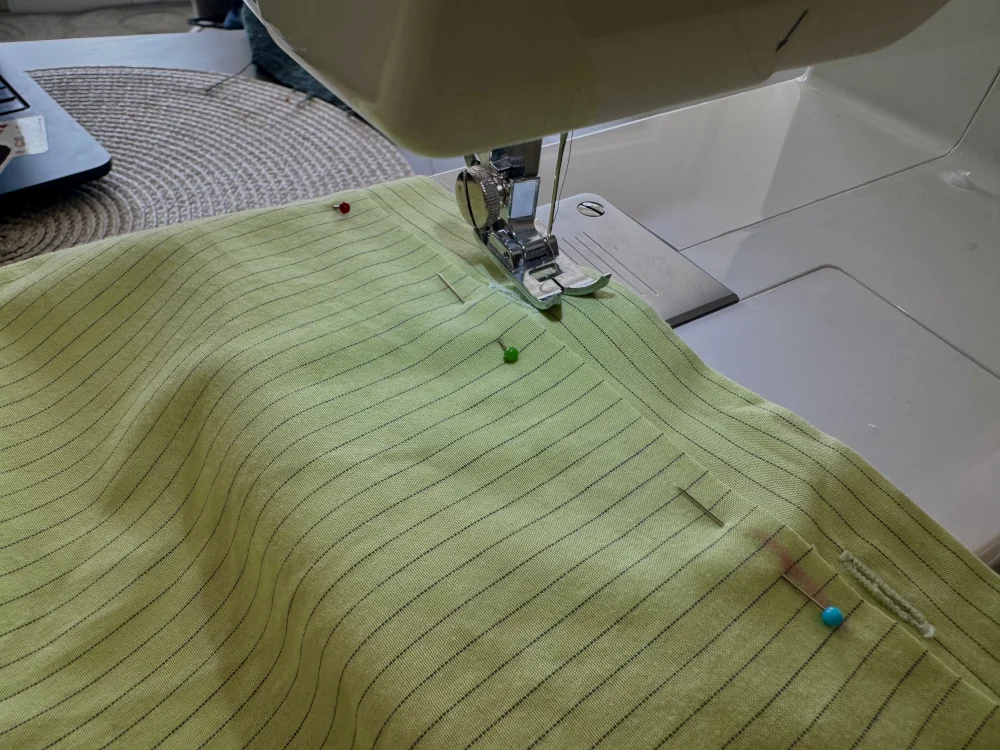
    To ensure your upcycled shirts are durable, you can use a “zigzag” stitch around the edges of the holes to reinforce them.

  • 5 Ultimate Upcycling Designers: A Complete Guide to Inspiration

    5 Ultimate Upcycling Designers: A Complete Guide to Inspiration

    For many upcycling designers, the most challenging phase of the creative process is simply starting, especially when faced with the unpredictable textures of reclaimed textiles. That “creative block” is a hurdle I face constantly; it’s difficult to begin when you aren’t sure where the project is headed. However, this uncertainty is a shared part of the maker’s journey. Instead of struggling in isolation, I’ve found that the best way to break through is to study the upcycling designers who have successfully navigated these exact design puzzles at the highest levels of global fashion. By analyzing their professional blueprints, we can stop seeing “waste” as an obstacle and start seeing it as a premium raw material.

    Here are five industry leaders who have not only influenced my own approach but have also mastered the technical art of transformation, offering us a professional roadmap for our own creative journeys.

    pile of old belts that upcycling designers use for unique designs

    Frequently asked questions:

    How does upcycling differ from traditional recycling?

    Traditional recycling breaks materials down to raw fibers. Upcycling maintains or improves the original material’s quality, adding emotional and economic value through creative reuse rather than total destruction.

    What materials do professional upcycling designers use?

    Upcycling designers like Marine Serre and Bode use diverse textiles, including vintage silk scarves, antique bed linens, denim and even decommissioned military parachutes.

    Where can a beginner find quality materials for an upcycling project?

    Beyond your own closet, look for “deadstock” fabric, thrift store linens (like 100% cotton sheets).

    Is upcycling more expensive than buying new fabric?

    Usually, it is much cheaper! While it requires more time to deconstruct a garment, the “raw material” is often free or low-cost.

    Sources:

    Bode. (n.d.). Bode. https://bode.com.

    Council of Fashion Designers of America. (n.d.). Emily Adams Bode Aujla. https://cfda.com/member/emily-adams-bode/.

    Eileen Fisher. (n.d.). Eileen Fisher Renew program reaches 2 million garments. https://www.eileenfisher.com/a-sustainable-life/journal/sustainability/renew-program-reaches-2-million-garments.html.

    Eileen Fisher. (n.d.). Eileen Fisher. https://www.eileenfisher.com/.

    Fédération de la Haute Couture et de la Mode. (n.d.). Marine Serre’s path for the future. https://www.fhcm.paris/en/news/marine-serres-path-for-the-future.

    Istituto Marangoni. (n.d.). Christopher Raeburn: Sustainable fashion. https://www.istitutomarangoni.com/en/maze35/christopher-raeburn-sustainable-fashion.

    Marine Serre. (n.d.). Core values. https://www.marineserre.com/en-lt/core/values.

    Marine Serre. (n.d.). Marine Serre. https://www.marineserre.com/en.

    RÆBURN. (n.d.). About RÆBURN. https://www.raeburndesign.co.uk/pages/about.

    RÆBURN. (n.d.). RÆBURN. https://www.raeburndesign.co.uk.

    Redress. (n.d.). Case study: Zero Waste Daniel. https://www.redressdesignaward.com/academy/resources/case-study/zero-waste-daniel.

    Zero Waste Daniel. (n.d.). About. https://zerowastedaniel.com/pages/about.

    Zero Waste Daniel. (n.d.). Zero Waste Daniel. https://zerowastedaniel.com.

  • Beginner Sewing Guide: Essential Techniques for Professional Results

    Beginner Sewing Guide: Essential Techniques for Professional Results

    This beginner sewing guide explores how sewing is often mistaken for a simple act of “pushing fabric through a needle.” However, in professional studios, it is understood as a rigorous exercise in engineering. When you transition from hand-sewing to true garment construction, this beginner sewing guide will help you stop just “making” and start “building”. To achieve that clean, high-end finish you must master the fundamental mechanics of the stitch before tackling complex patterns.

    When you first start your sewing journey, looking at a machine with its array of knobs, levers, and miles of thread can feel less like a fun hobby and more like trying to pilot a small aircraft. I’ve been exactly where you are. When I started, I spent hours trying to rethread my needle, only to realize I used to thread it from the wrong side. I almost gave up before I’d even made a single stitch.

    But everything changed once I learned the “invisible laws” of how fabric behaves under tension and moves along the grain. We’re in this together, part of a community of makers who value the intentional craft of building something with our own hands. Let’s start this beginner sewing guide with principles that you might need to avoid the most frustrating mistakes.

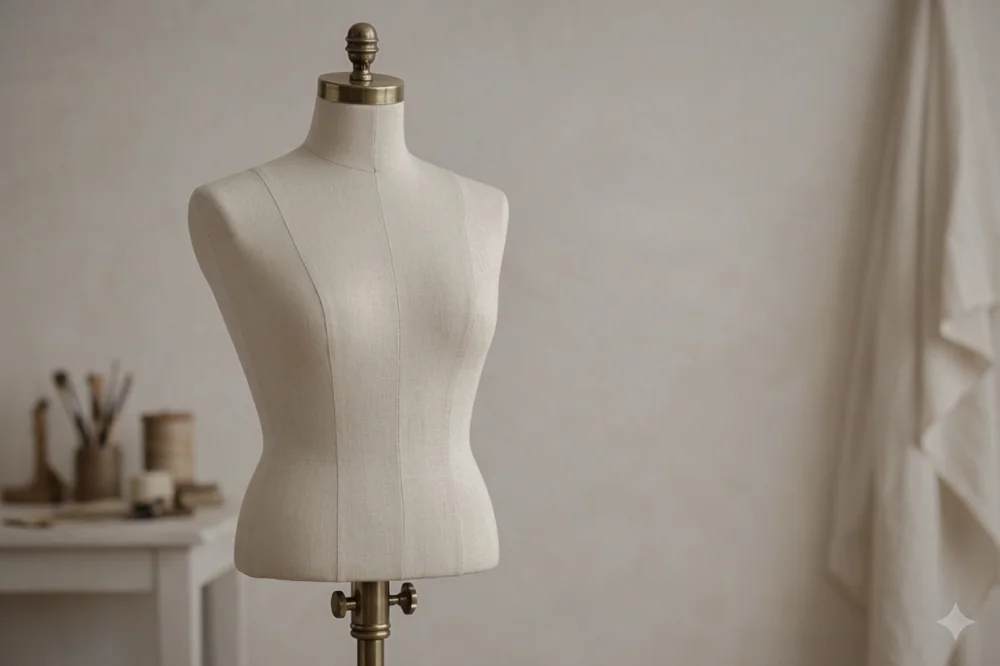
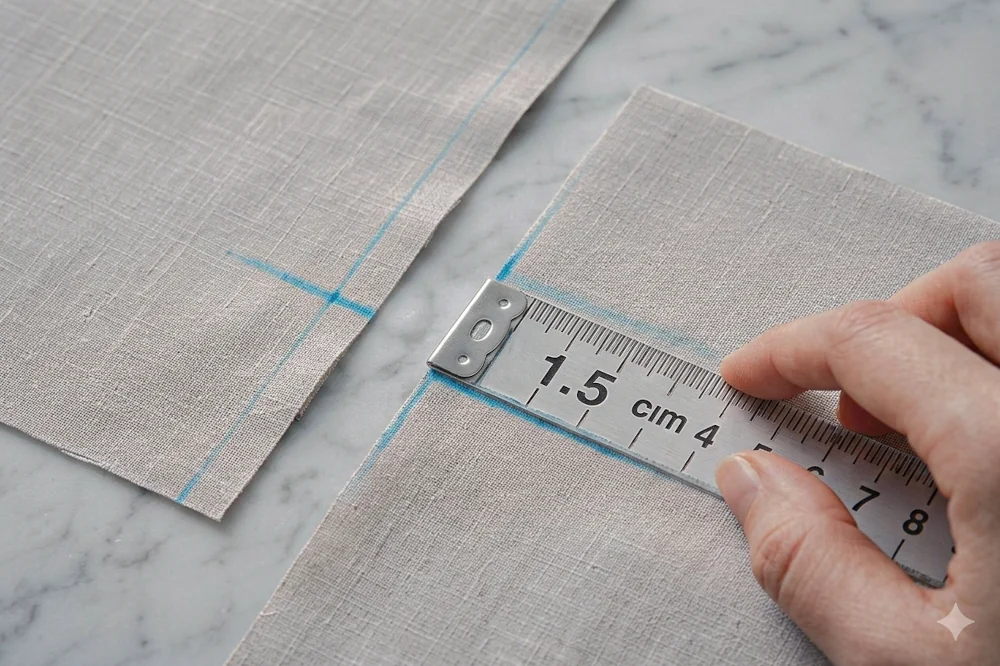
    seam allowance
    Everything you need to know in one beginner sewing guide.
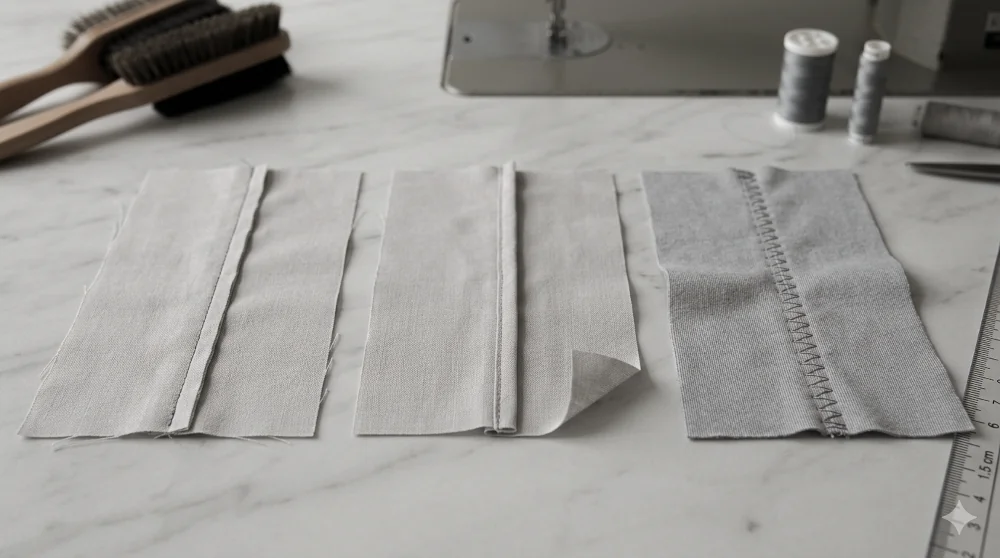
    three main seams for a beginner sewing guide

    Common Frustrations: How to Outsmart Your Machine


    1. Skipped Stitches

    If your machine is skipping stitches or making a weird sound, your needle is likely dull or the wrong type.

    Personal Rule: I change my needle every few projects if they do not take more than 2-3 hours. Think of it like a chef sharpening their knife—you can’t do good work with a blunt tool.

    Tip: Always verify the needle type for your specific fabric. If you are moving to a heavy denim or canvas, you must switch to a thicker, reinforced needle to maintain structural integrity.

    2. Why the Thread Keeps Slipping Out?

    One of the most maddening frustrations for a beginner is sitting down to sew, pressing the pedal, and having the needle come unthreaded instantly. This usually happens because the “take-up lever” was in the wrong position or you didn’t leave enough of a “tail”.

    The Fix: Always turn the handwheel toward you until the needle and the take-up lever are at their highest point before you start.

    Threading Direction: Ensure you are threading the needle from the correct side—usually front to back on modern machines.

    The Tail Method: Before you take your first stitch, pull about 10 cm to 15 cm of both the top and bobbin threads to the back and left of the machine.

    Initial Tension: Holding these “tails” firmly for the first two or three stitches provides the necessary tension to keep the needle threaded and prevents the fabric from getting “eaten” by the machine.

    3. The “Bird’s Nest” – Tangled Thread Underneath

    You start sewing, and suddenly there’s a massive knot of thread on the bottom of your fabric. There is nothing more frustrating than a tangled ‘bird’s nest’ of thread, but once you master the tension rules in this beginner sewing guide, you’ll spend your time creating rather than unpicking.

    The Reality: The top thread isn’t seated in the tension discs.

    The Fix: Always re-thread the top of the machine with the presser foot in the up position. This opens the tension discs so the thread can sit deeply inside them.

    Conclusion: Just Start

    The biggest hurdle isn’t the technical skill, it’s the fear of messing up. You will sew a sleeve on inside out at some point. You will have to unpick a messy seam. That’s not failure, that’s how you learn the machine. Remember, every expert was once a beginner sitting exactly where

    Ready to get started?

    Before you sit down to sew, make sure you have the right tools for the job! Check out my companion guide: 5 Essential Tools for a Beginner’s Sewing Kit to ensure you aren’t wasting money on gadgets you’ll never use.

  • Reclaiming Denim: Designing an Upcycled Pouch Wallet

    Reclaiming Denim: Designing an Upcycled Pouch Wallet

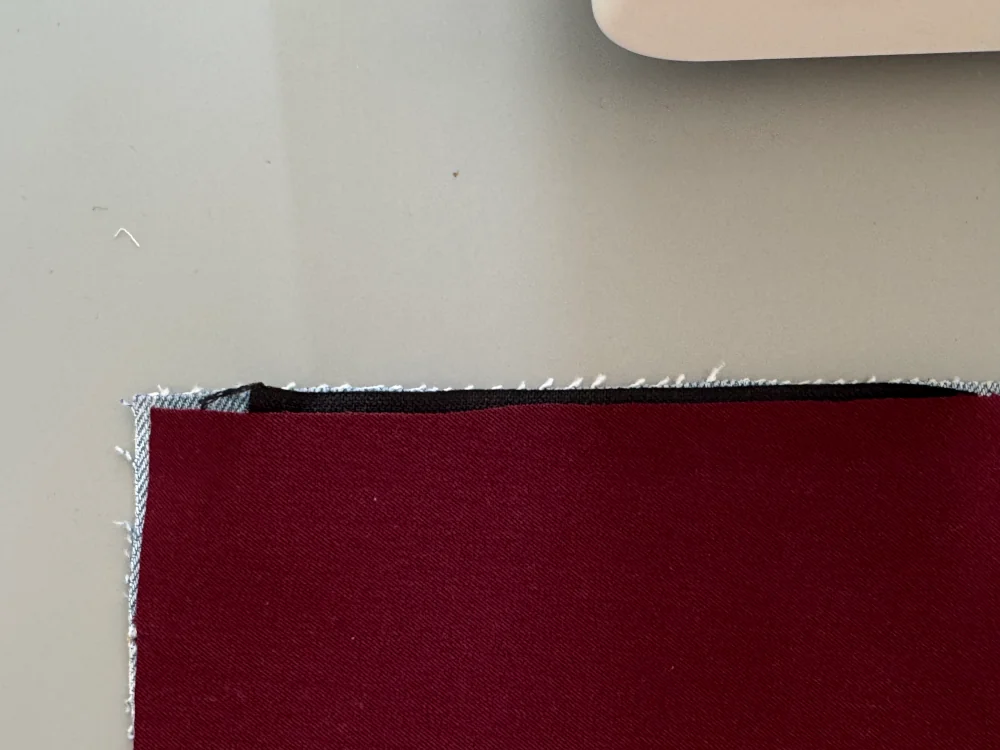
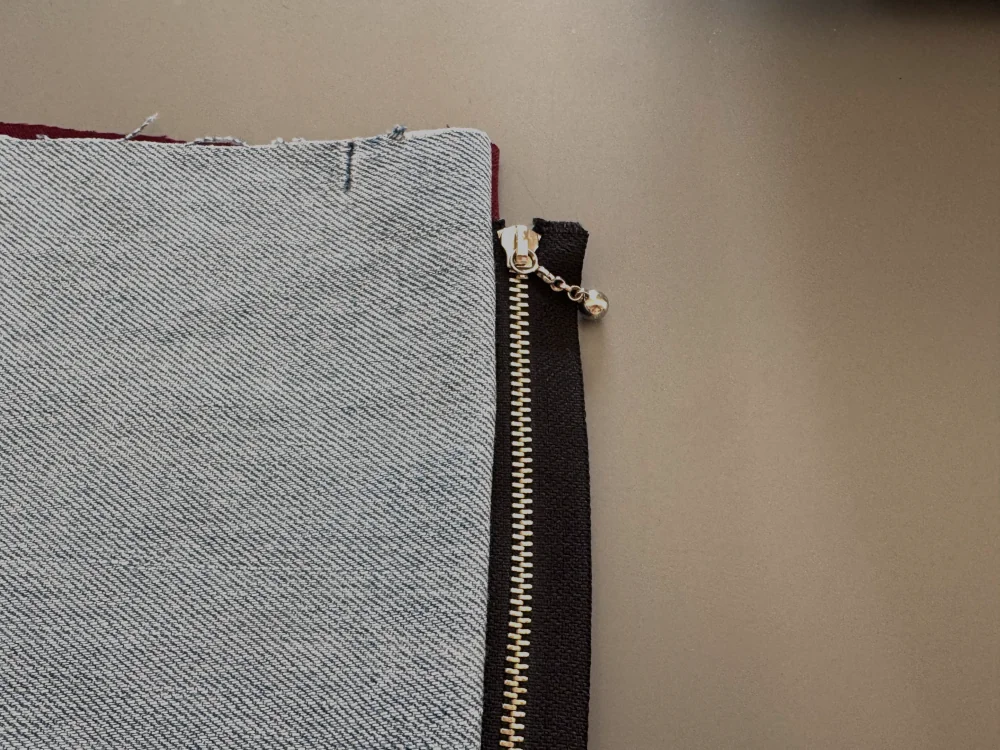
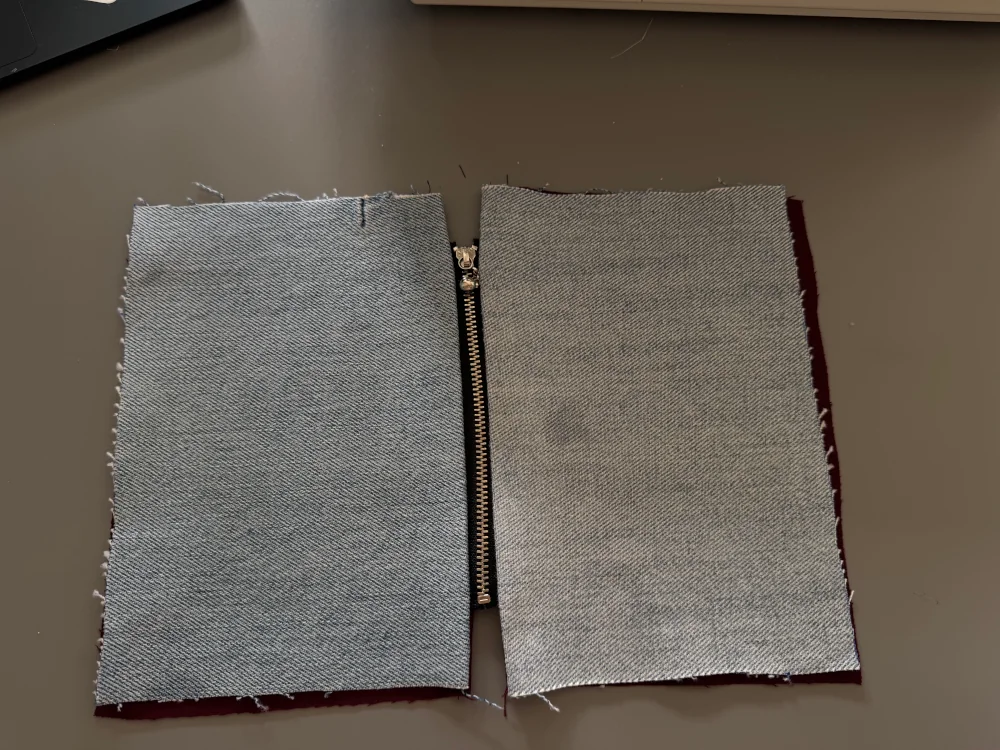
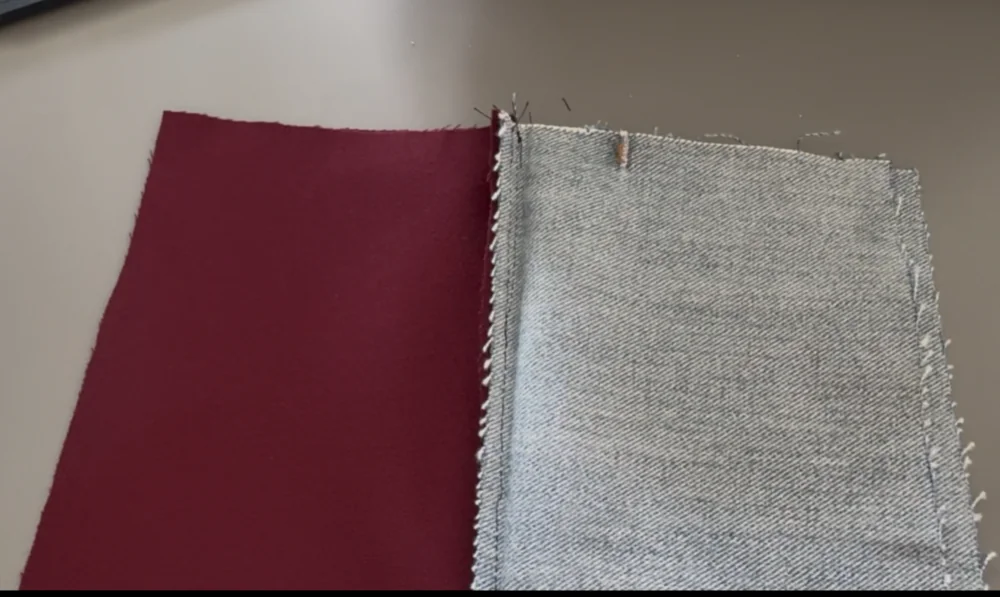
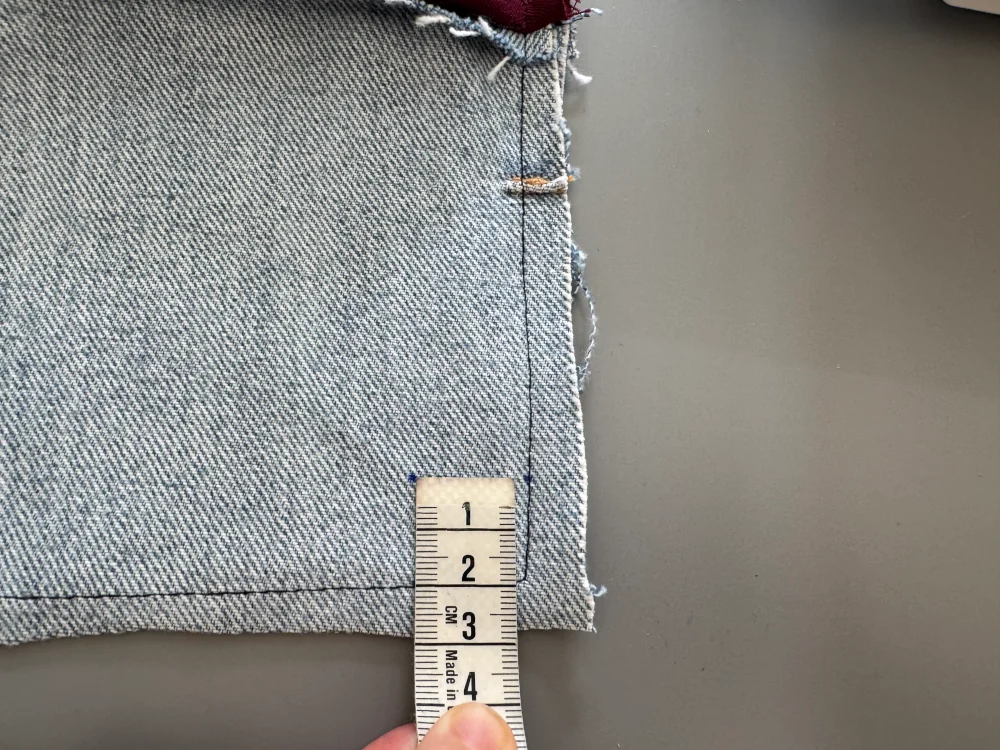
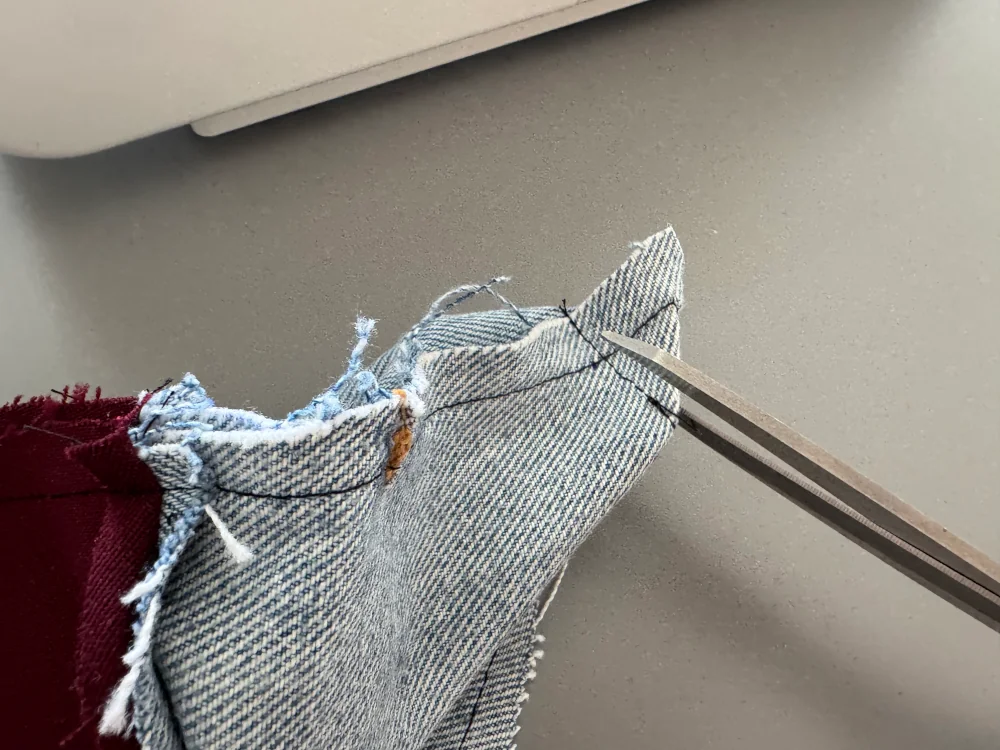
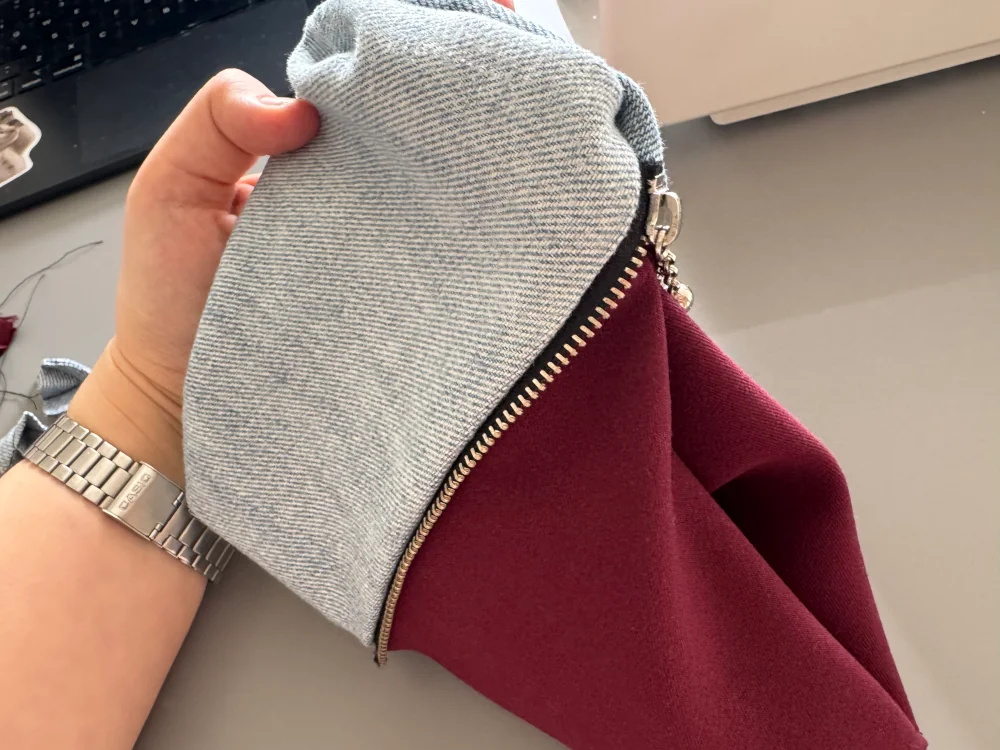
    In this guide, we explore how an upcycled denim wallet is the perfect project for reclaiming old fabric and reducing waste. We all have that pair of jeans: the ones with the perfect wash, the comfortable fit, but perhaps a worn-out knee or a frayed hem. For many, they are destined for the donation pile or worse, the bin. But for us, that old denim isn’t just fabric, it’s a sturdy, versatile canvas brimming with design potential.

    Denim is, famously, one of the most resource-intensive fabrics to produce. As we discussed in “The Ultimate Upcycling Project” blog, a single pair of jeans can consume around 2,000 gallons of water during its creation. This alone makes upcycling jeans a powerful statement against textile waste. By choosing to transform rather than discard, you’re not just saving resources; you’re actively participating in the circular economy, turning a used item into a valuable upcycling product with a new lease on life.

    This project is perfect for fashion and textile students looking to reduce the amount of scrap pieces they have or for sewing beginners eager to try their hand at practical skills without investing in new, expensive materials. It’s approachable, satisfying, and results in a genuinely useful item: an upcycled denim wallet. However, before you start sewing, make sure you’ve mastered the Beginner Sewing Guide to ensure your seams are professional and secure.”

    Your New Statement Piece

    And there you have it! A unique, durable, and incredibly personal upcycled denim wallet, born from an old pair of jeans. This upcycling project not only saves precious resources but also showcases your creativity and practical sewing skills. It’s a tangible example of how a small act of creative reuse can make a big difference, transforming waste into something that you can use every day! Once you finish your first upcycled denim wallet, you’ll likely start looking at every old pair of jeans as a new design opportunity!

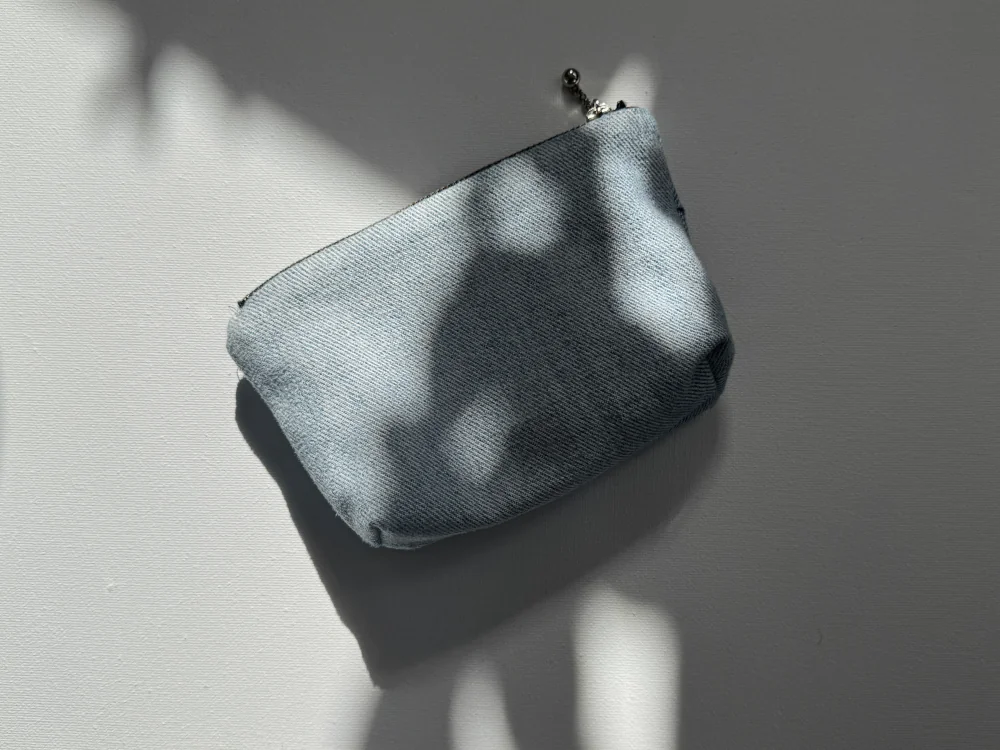
    final denim pouch closed
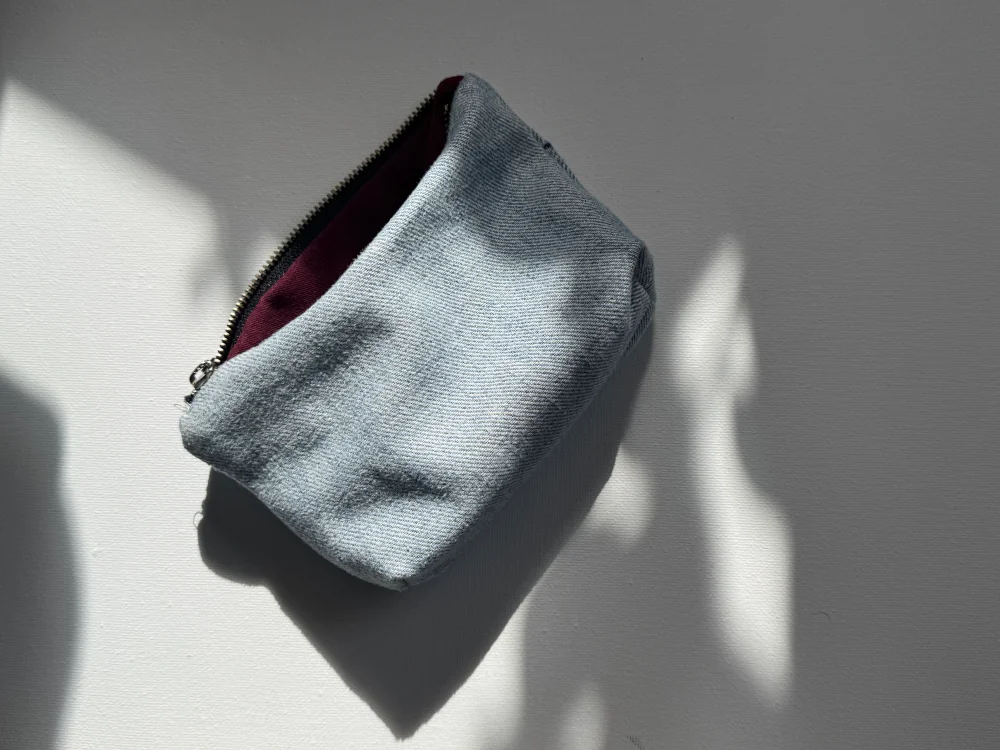
    final denim pouch open

    Frequently Asked Questions:

    My sewing machine is skipping stitches on the denim. What’s wrong?

    This usually happens when the needle is too dull or too thin. Ensure you are using a dedicated denim needle (90/14). If it still skips, try sewing more slowly over the thickest seams.

    Can I use stretchy denim for this project?

    You can, but it is much trickier for beginners. Stretch denim tends to warp when you sew zippers. For your first upcycling project, a 100% cotton denim is much easier to handle.

    What should I do if my zipper is too short for the 19cm opening?

    If your zipper is shorter than 15cm, you can add “zipper tabs.” Sew small squares of denim to each end of the zipper to extend its length. This is a common technique to make found hardware fit custom patterns perfectly.

  • The Ultimate Upcycling Project: Why Sustainable Design is the Future of Fashion

    The Ultimate Upcycling Project: Why Sustainable Design is the Future of Fashion

    Upcycling project is the perfect solution for a dilemma we all know too well: staring at a favorite T-shirt that’s seen better days or a pile of fabric scraps too small for a full pattern but too pretty to toss. For many fashion students and sewing beginners, the instinct is to head to the fabric store for something “new” to start a project. However, the most rewarding and sustainable way to sharpen your skills is to use the hidden gems already sitting in your donation bin.

    Upcycling is the process of giving new life to objects or materials that might otherwise be seen as waste. Rather than breaking materials down as in traditional recycling, upcycling works with what already exists, maintaining, and sometimes even improving, the qualities of the original material. By giving materials new life through creative reuse, we add economic, intellectual, and emotional value to items that others might see as waste.

    Whether you are a student looking to build a unique portfolio or a beginner picking up a needle for the first time, upcycling offers a world of opportunity that a blank bolt of fabric simply can’t match.

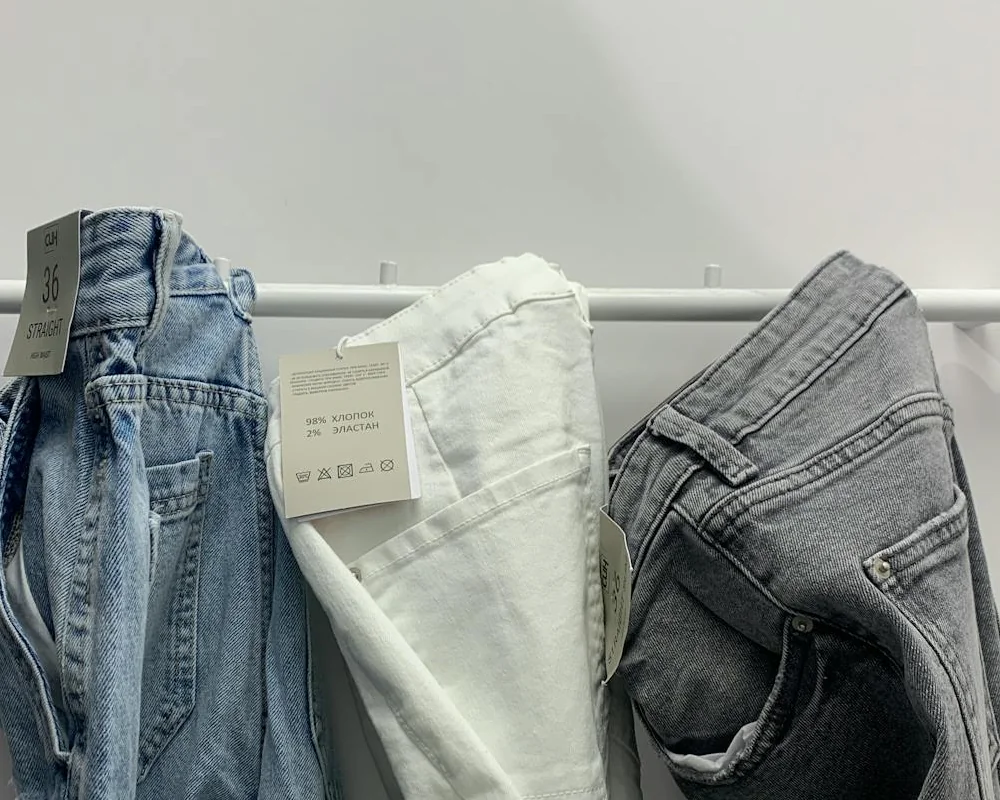
    jeans on a rack

    Sources:

  • 5 Essential Tools for a Beginner’s Sewing Kit

    5 Essential Tools for a Beginner’s Sewing Kit

    When you start sewing, whether for a university project or a personal hobby, the sheer volume of available gadgets can be overwhelming. Most beginners start by purchasing a pre-packaged “all-in-one” beginner’s sewing kit. While these bags are convenient because they keep everything in one place, they often harbor a hidden downside: poor quality. After a few years of university projects, I have realized that much of what is included in those kits goes unused, while the items you do use frequently often break or cause frustration.

    If you are looking to build a kit that actually works for projects like upcycling or garment construction, you don’t need dozens of tools. You need a few reliable basics. The following guide breaks down the five essential supplies that are worth prioritizing over the “extras” found in bulk kits.

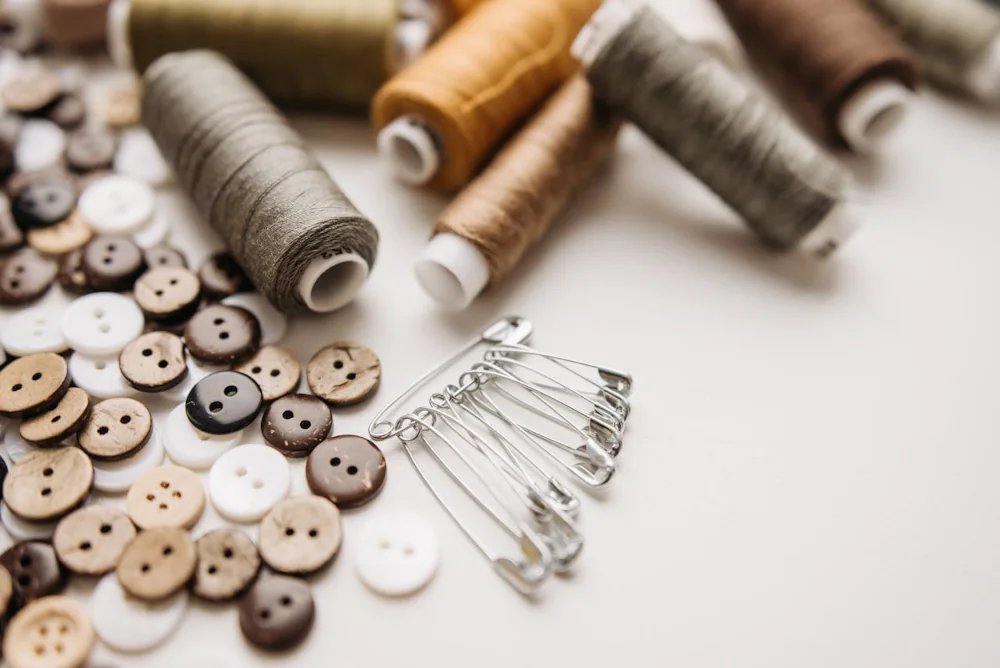
    sewing supplies threads, buttons and safety pins

    Reflection

    Ultimately, a great beginner’s sewing kit isn’t about how many tools you own, but how much you can trust the ones you have. By focusing on these five essentials, you’re moving past the frustration of low-quality supplies and setting yourself up for much smoother projects. As you continue to upcycle and create, you’ll likely add more specialized tools to your collection, but these basics will always be the core of your workspace. Start with quality over quantity, and you’ll find that the process of making becomes much more enjoyable.

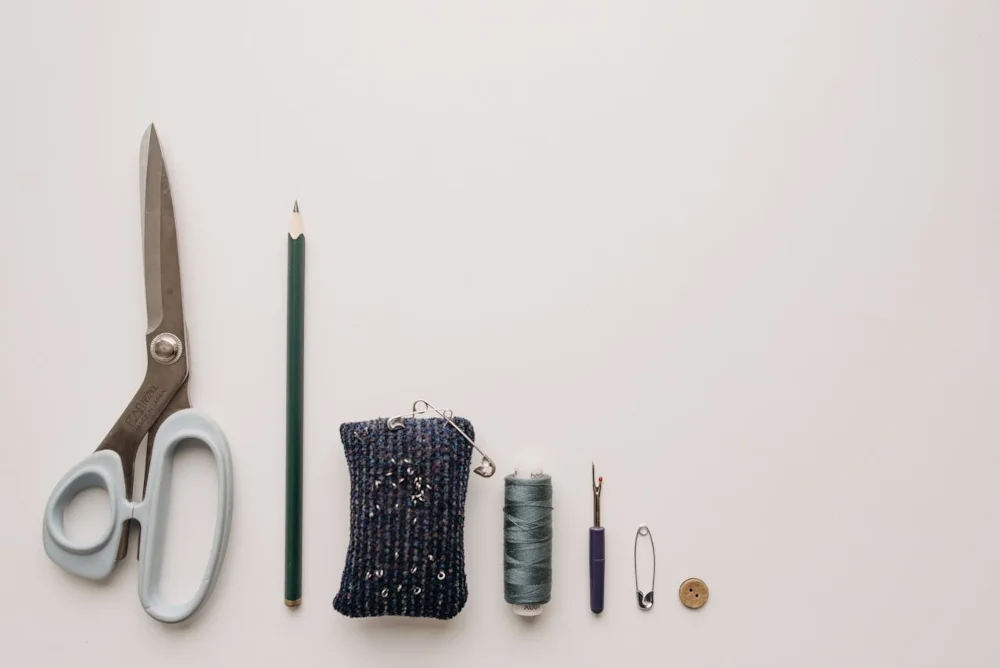
    few sewing supplies for beginner's sewing kit

    Ready to start your first project? Check out my Designing an Upcycled Pouch Wallet to put your new tools to the test.