
When you start sewing, whether for a university project or a personal hobby, the sheer volume of available gadgets can be overwhelming. Most beginners start by purchasing a pre-packaged “all-in-one” beginner’s sewing kit. While these bags are convenient because they keep everything in one place, they often harbor a hidden downside: poor quality. After a few years of university projects, I have realized that much of what is included in those kits goes unused, while the items you do use frequently often break or cause frustration.
If you are looking to build a kit that actually works for projects like upcycling or garment construction, you don’t need dozens of tools. You need a few reliable basics. The following guide breaks down the five essential supplies that are worth prioritizing over the “extras” found in bulk kits.
1. Reliable Marking Tools: Tailor’s Chalk and Pencils
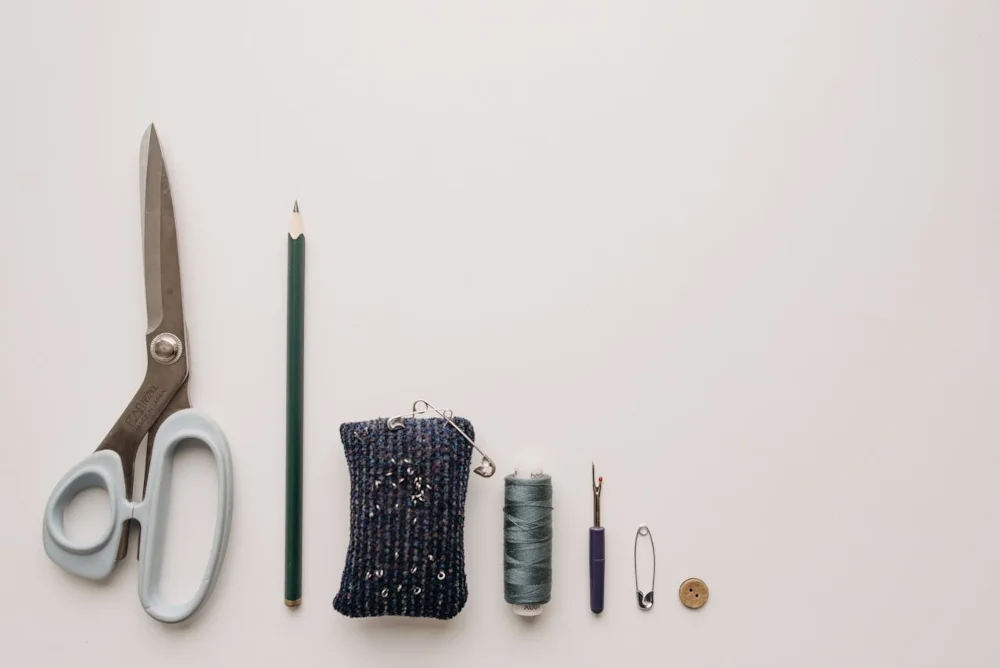
One of the first lessons in sewing is that your finished product is only as good as your pattern markings. Accuracy is the difference between a seam that lines up and a project that looks lopsided. In many beginner kits, you’ll find a hard wax crayon that is difficult to sharpen and often leaves a permanent mark that won’t come out of the fibers.
For accurate patterns, you need a fine point. Pencils are excellent for light-colored fabrics, while traditional triangle chalk works best for darker materials like denim. The key for beginner’s sewing kit is to ensure they are “water-soluble” or “heat-erasable,” meaning the lines will disappear with a quick wash or a burst of steam from your iron. This allows you to mark your seam allowances or draw patterns without fear of ruining the fabric during the construction process.
2. Precise Measurement: beginner’s sewing kit
Measurement is the most repetitive part of sewing, and a single flexible tape measure is rarely enough for drafting patterns or measuring and drawing lines. In a university setting, you quickly learn that you need rigid edges to draft straight lines, check grainlines, and ensure your fabric is squared.
A clear acrylic ruler is a significant upgrade from a standard tape measure. Because it is transparent and features a printed grid, you can see exactly how the fabric lies underneath it. This visibility is essential for cutting straight strips or squaring off corners with precision. Additionally, a curved ruler (often called a French curve) is incredibly handy for beginners who want to adjust existing patterns or try drafting their own.
Tip: Often, buying a full set of rulers is the cheaper option, even if you only end up using three or four of them as a beginner. However, if you want to avoid extra clutter in a small workspace, you can easily buy a clear straight ruler and a curved ruler separately to cover your basics for your beginner’s sewing kit.
3. Essential Strength: Choosing the Right Thread
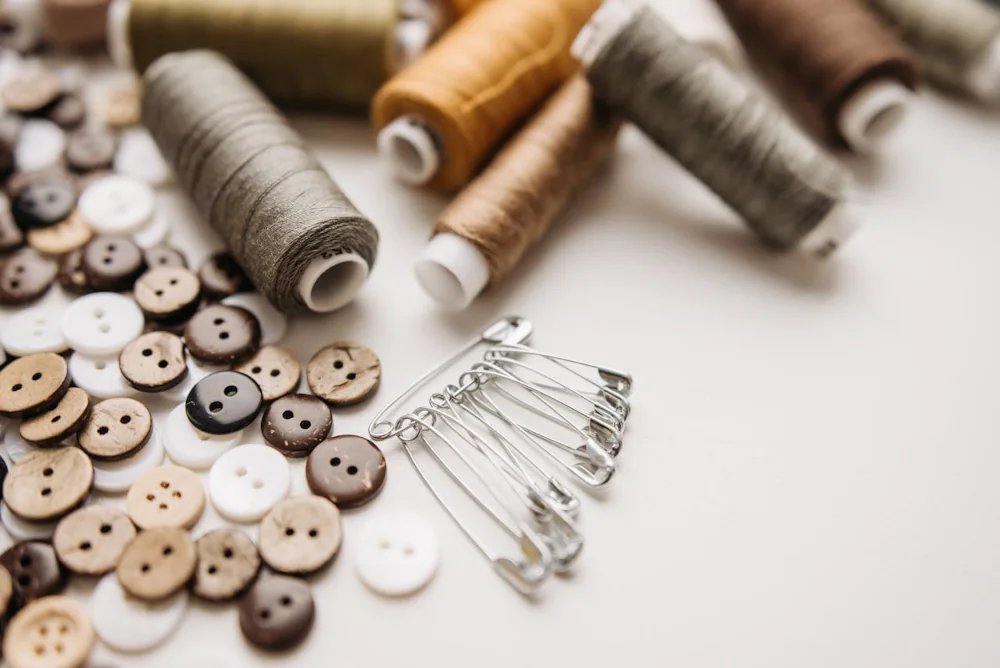
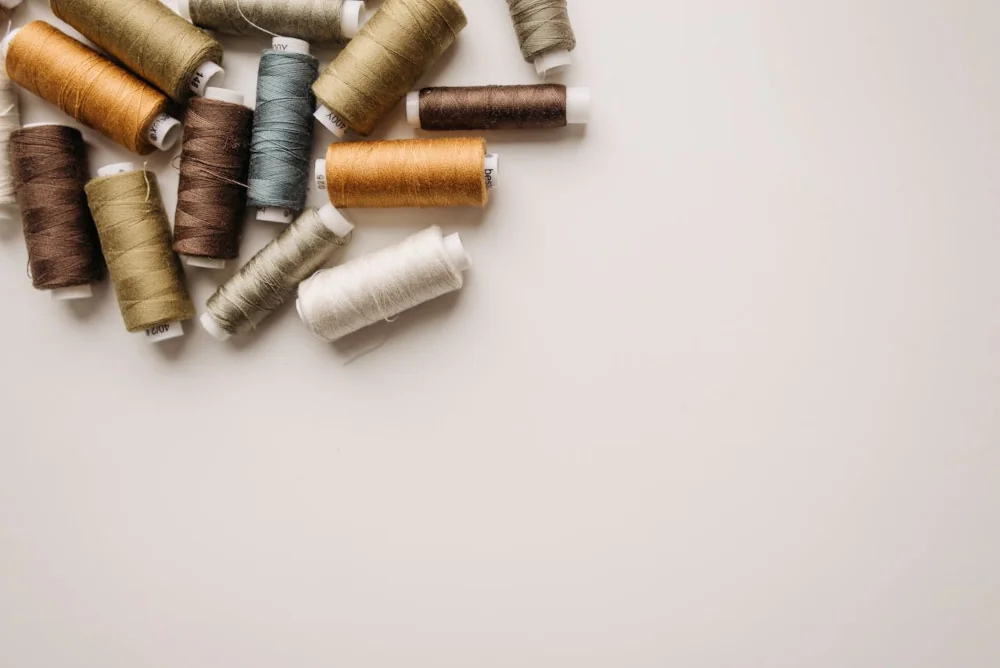
This is perhaps the most important technical upgrade you can make to a basic kit. The thread included in budget-friendly kits is usually “unbranded” and made of short fibers that fray easily. If you look closely, you’ll see “fuzz” on the thread, this lint eventually clogs your sewing machine’s internal components. More importantly, cheap thread lacks the tensile strength required for long-lasting seams.
When sewing through multiple layers of fabric, you need thread that won’t snap under tension. High-quality polyester thread is smooth, strong, and consistent. It is more efficient to own two or three spools of high-quality thread in neutral colors (for instance, black, white, and navy) than a rainbow of fifty low-quality spools that will break mid-stitch and force you to re-thread your machine constantly.
4. Cutting Efficiency: Dedicated Fabric Scissors
In many starter kits, the scissors are the first thing to fail. Standard “craft” scissors or the ones included in cheap bundles are often not sharp enough to cut through fabric cleanly, leading to jagged edges, frayed threads, and hand fatigue.
A dedicated pair of heavy-duty scissors will glide through fabric, making your cutting phase much faster and more accurate. Having a reliable, sharp pair of shears is one of the few things that immediately improves the quality of your work and the ease of the assembly process.
Tip: The most important rule in any sewing space is that fabric scissors are for fabric only! Cutting paper or plastic with them will dull the blade instantly.
5. The “Un-Sewing” Essential: Seam Ripper
Mistakes are an inevitable part of the learning process. Whether you’ve sewn a zipper in backward or caught a stray fold of fabric in your seam, you will eventually have to “un-sew.” Most basic kits include a tiny, thin plastic seam ripper that is very difficult to hold and goes blunt almost immediately, which can lead to you accidentally ripping the fabric instead of the thread.
A larger, soft-grip handle gives you significantly more control and prevents your hand from cramping during long sessions of ripping out stitches. A sharp ripper allows you to slide under threads quickly without damaging the actual garment fabric. Since beginners spend a significant amount of time fixing errors and adjusting seams, this is a tool you will use far more than you expect.
Tip: Not everyone knows how to use a seam ripper correctly. That small red ball on the tip is there for a reason. To use it properly, you should place the side with the ball inside the seam, against the fabric. As you slide the ripper through, the ball acts as a shield to ensure the sharp needle point doesn’t snag or slice your fabric.
Reflection
Ultimately, a great beginner’s sewing kit isn’t about how many tools you own, but how much you can trust the ones you have. By focusing on these five essentials, you’re moving past the frustration of low-quality supplies and setting yourself up for much smoother projects. As you continue to upcycle and create, you’ll likely add more specialized tools to your collection, but these basics will always be the core of your workspace. Start with quality over quantity, and you’ll find that the process of making becomes much more enjoyable.
Ready to start your first project? Check out my Designing an Upcycled Pouch Wallet to put your new tools to the test.